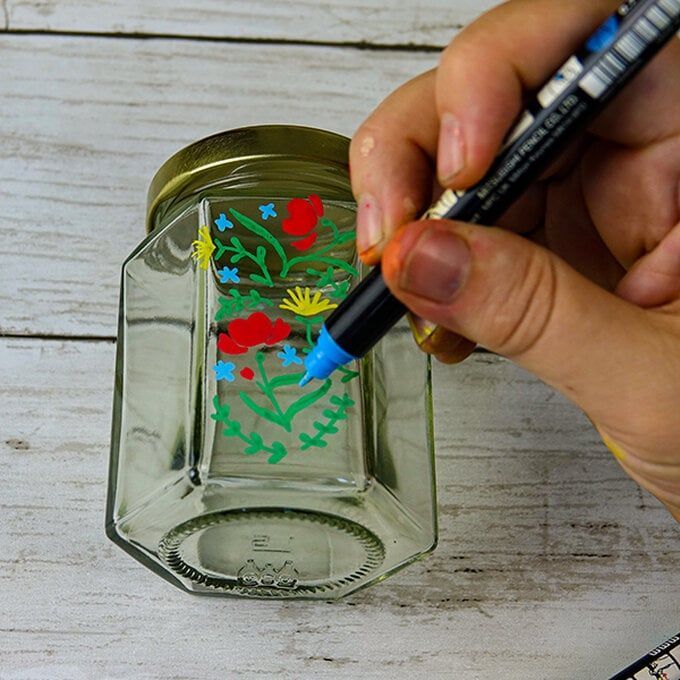
Glass jars are often discarded after use, but with a little creativity and some acrylic paint, they can be transformed into stunning decorative pieces. Whether you’re looking to add a personal touch to your home decor or create a thoughtful handmade gift, painting on glass jars is an enjoyable and rewarding DIY project. In this guide, we’ll walk you through the process step by step, covering all the essential tips and tricks to ensure a beautiful finish.
Materials You’ll Need
Before you start painting, gather the necessary materials:
A clean glass jar (mason jars work great)
Acrylic paints (preferably enamel or glass-specific acrylics for better adhesion)
Paintbrushes of various sizes
Rubbing alcohol or soapy water (for cleaning the jar)
A palette or disposable plate for mixing colors
Painter’s tape or stencils (optional, for designs and patterns)
A clear acrylic sealant (optional, for added durability)
Step-by-Step Guide to Painting Your Glass Jar
Step 1: Prepare the Glass Jar
Start by thoroughly cleaning your glass jar with warm soapy water or rubbing alcohol. This removes any grease, dirt, or residue that might prevent the paint from sticking properly. Let the jar dry completely before moving to the next step.
Step 2: Plan Your Design
Decide on the design you want to paint. You can sketch it on a piece of paper first or use stencils to help with precision. If you’re going for a geometric pattern, painter’s tape can help create clean lines.
Step 3: Start Painting
Dip your brush into the acrylic paint and apply thin layers to avoid streaks or clumps. If using multiple colors, allow each layer to dry before adding another to prevent smudging. If you make a mistake, simply wipe it off with a damp cloth before the paint dries.
Step 4: Add Details and Texture
Once the base layers are dry, add details with a fine brush. Experiment with different techniques, such as dotting, sponging, or stippling, to create unique textures and effects.
Step 5: Let It Dry Completely
Patience is key! Allow the jar to dry for at least 24 hours in a dust-free area to ensure that the paint sets properly.
Step 6: Seal the Design (Optional)
To protect your artwork, apply a clear acrylic sealant. This step is especially useful if you plan to use the jar frequently or place it in a humid environment. Spray or brush on a thin, even coat, and let it dry completely.
To protect your artwork, apply a clear acrylic sealant. This step is especially useful if you plan to use the jar frequently or place it in a humid environment. Spray or brush on a thin, even coat, and let it dry completely.
Creative Ideas for Your Painted Glass Jars
Once your jar is painted and sealed, you can use it in various ways:
- Candle Holders – Place a small candle inside for a cozy ambiance.
- Flower Vases – Fill it with fresh or dried flowers for a charming decor piece.
- Storage Containers – Use it to store pens, makeup brushes, or kitchen utensils.
- Gift Jars – Fill with homemade treats, candies, or small gifts for a personalized present.
Painting on glass jars is an excellent way to express your creativity while repurposing household items. With the right materials and a little patience, you can create stunning, one-of-a-kind pieces that add a unique touch to your home. Whether you’re a beginner or an experienced artist, this DIY project is a fun and fulfilling way to explore your artistic side. Happy crafting!


